Geiss-modified
Argus C-4
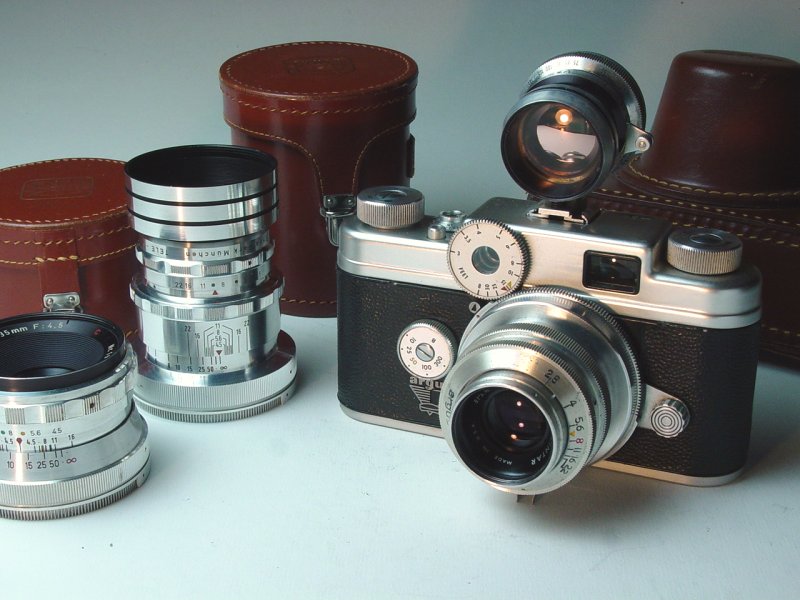
My Dad showed up for a visit with an
Argus C4 to add to my collection.
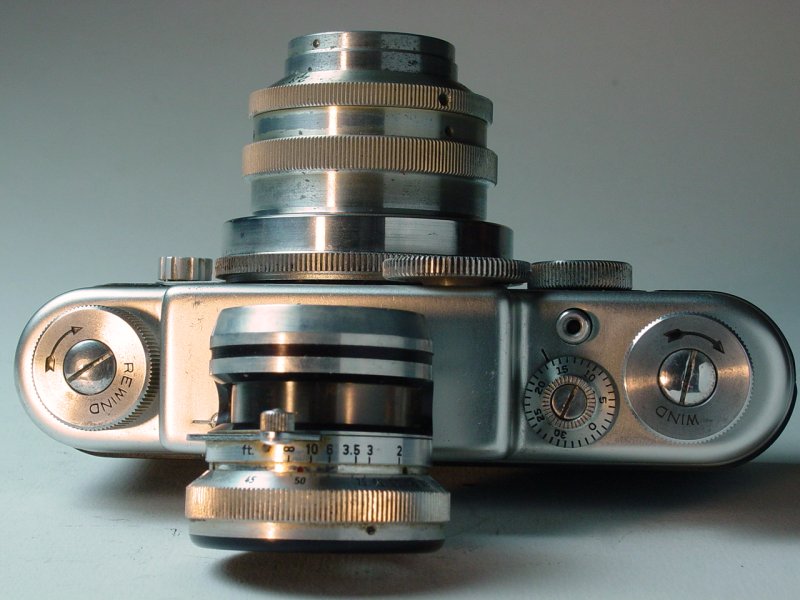
Upon doing some research into the camera, I learned that Geiss America
offered a modified version of the C4 with lens interchangeability.
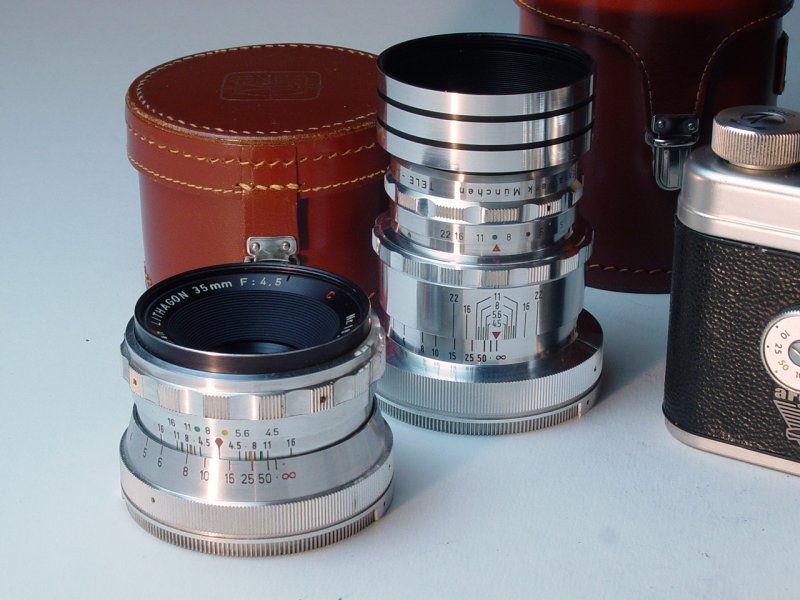
Enna Werk München made both 35mm
and 100mm Lithagon f/4.5
lenses to complement the offering of 45mm f/1.9 and 50mm f/2.8 normal
lenses. An Enna Werk München 135mm was also offered, providing the
Geiss-modified C4 owner a good selection of lenses.
|
Sandmar Zoom-Vue 35-135 variable frame finder
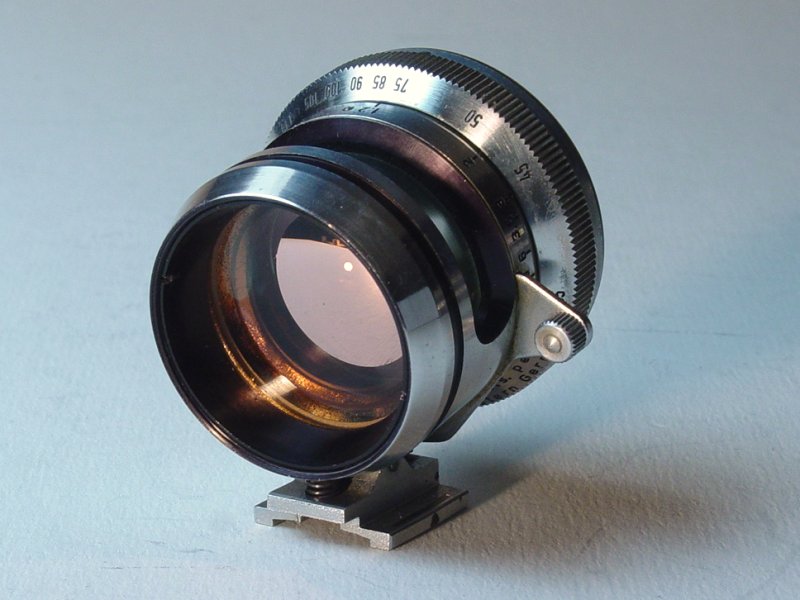
In order to provide a method to view the
coverage area of the lenses available for the Geiss-modified Argus C4,
Geiss offered the
Sandmar Zoom-Vue 35-135 variable frame finder.
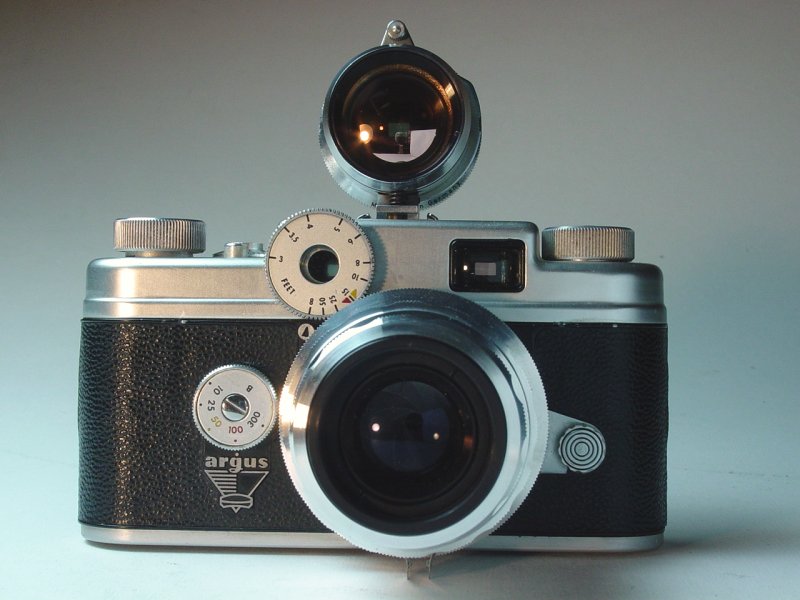
This
attachment slides into the accessory shoe.
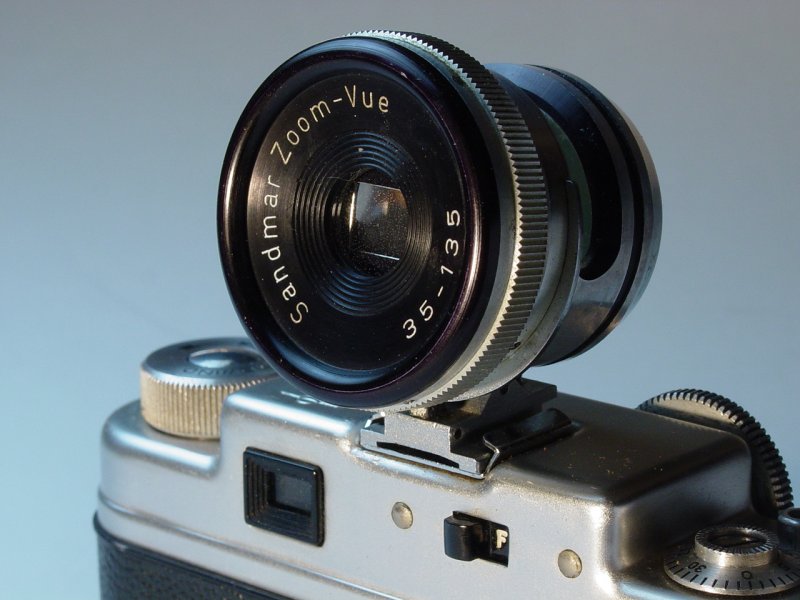
It
accommodates a wide range of lens focal lengths from 35mm to 135mm, and
also provides parallax correction to assure that framing is correct no
matter the distance from the subject.
   
The operation is fairly primitive by comparison to some
finders. An two-bladed, rectangular aperture closes to the desired
focal length. A reflective outline on the forward facing aperture
edges reflects off the semi-transparent front lens elements and provides
the outline of the lens view. This frame is illuminated from above
through an opening in the top of the finder.
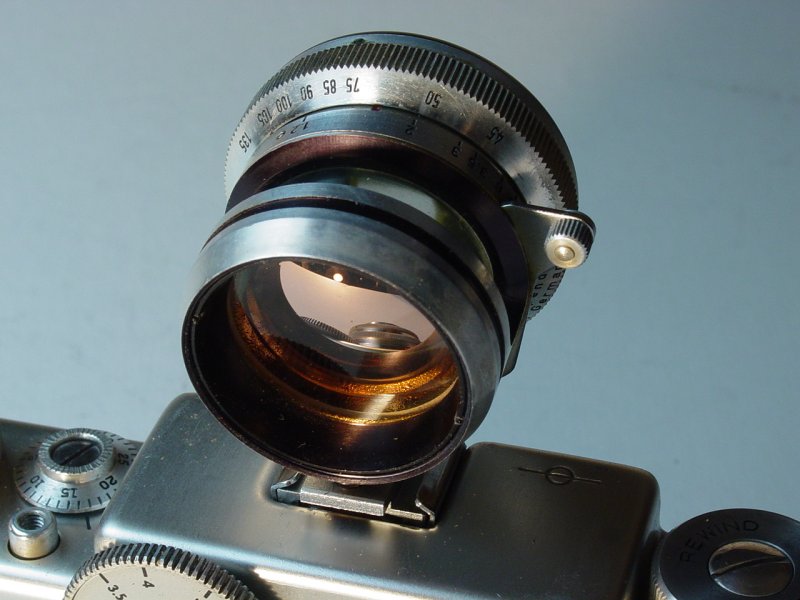
It works reasonably well in daylight but would probably
be useless in low light situations. But then, so would a lens with
maximum aperture of f/4.5, so...
    
  
|
Lens Removal and Installation
Lens removal and installation is
fairly straightforward compared to the Argus C3. But there are
a few little twists and turns...
For anyone familiar with the Canon F-1,
FTb, et al, and the "breech lock" system used to mount Canon lenses of
that period, this lens mounting system will be immediately familiar.
In fact it is so similar in some ways I would not be surprised if Canon
didn't "borrow" some ideas when they were designing their mount.
|
|
Removal
First, the knob on the lock lever is
twisted counter-clockwise to release the lock lever from the pin on the
body...
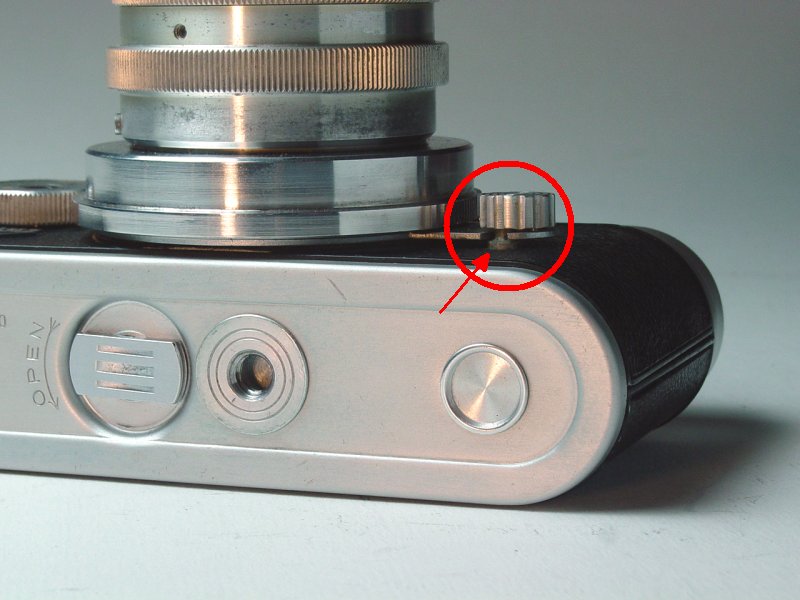
Here's the knob unlocked from the pin...
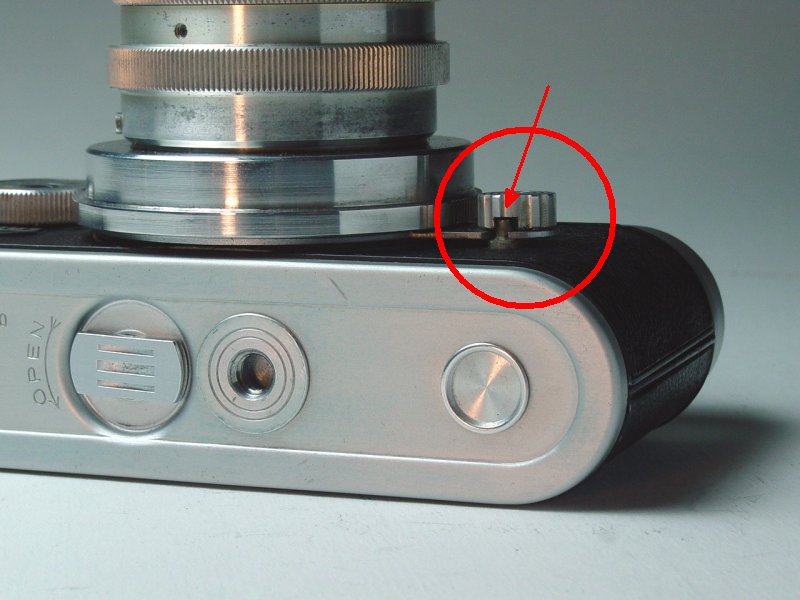
Here the lock lever has been moved upward
(counter-clockwise) to reveal the pin on the body...
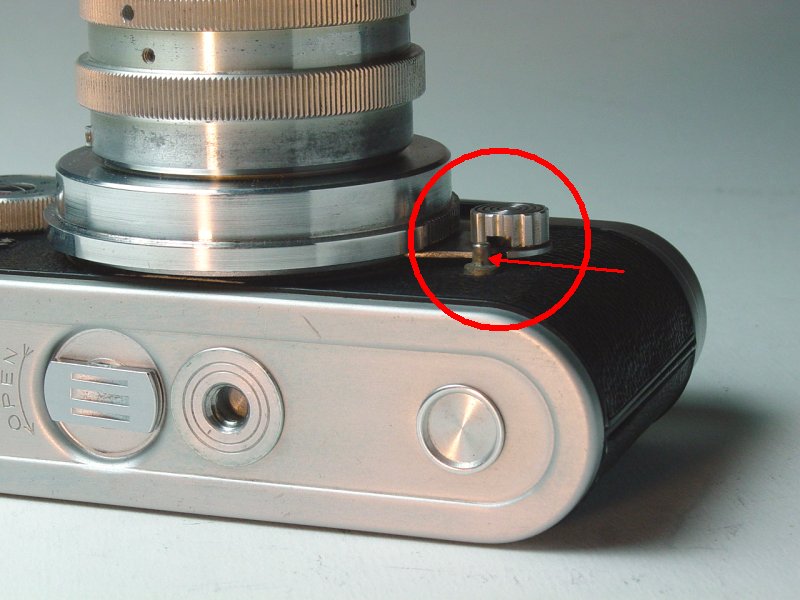
Here is another shot showing the locking
lever moved further upward...
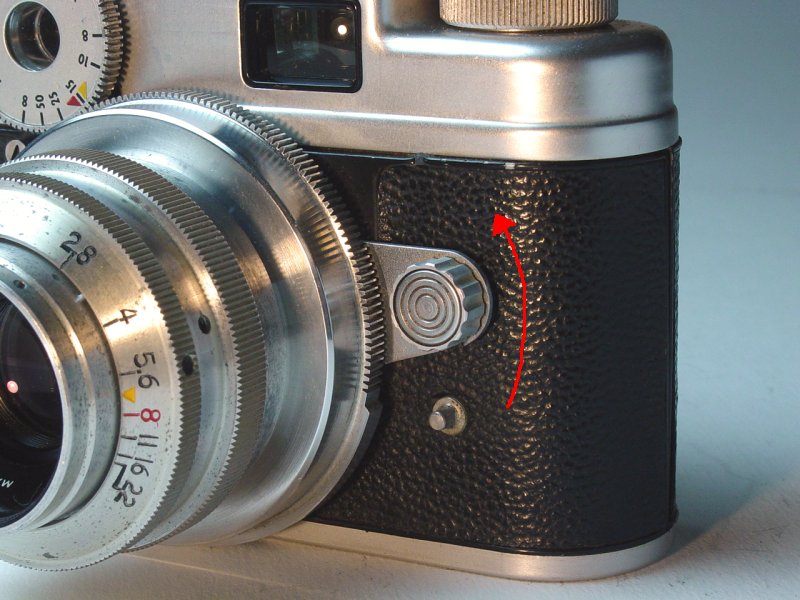
The lever is completely unlocked - the
lens will fall away if the camera is tipped upright (don't do that)...
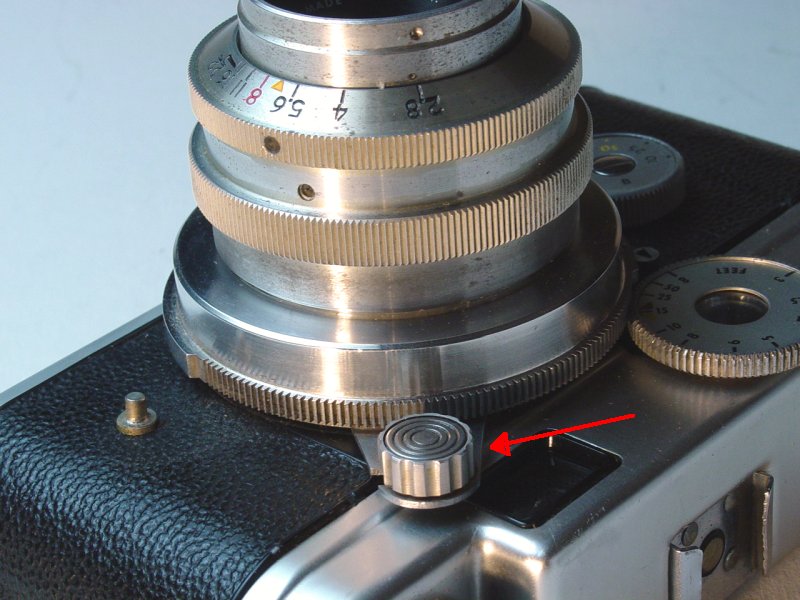
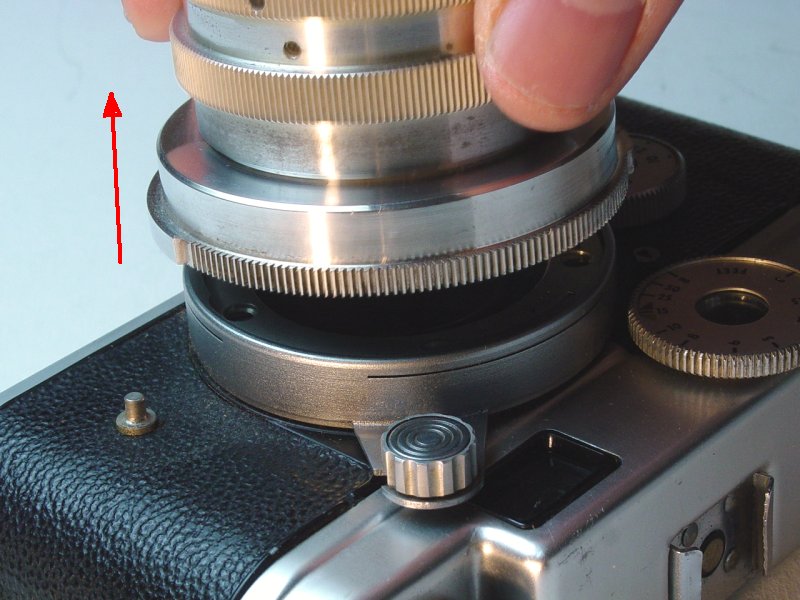
Lift the lens away...
Installing...
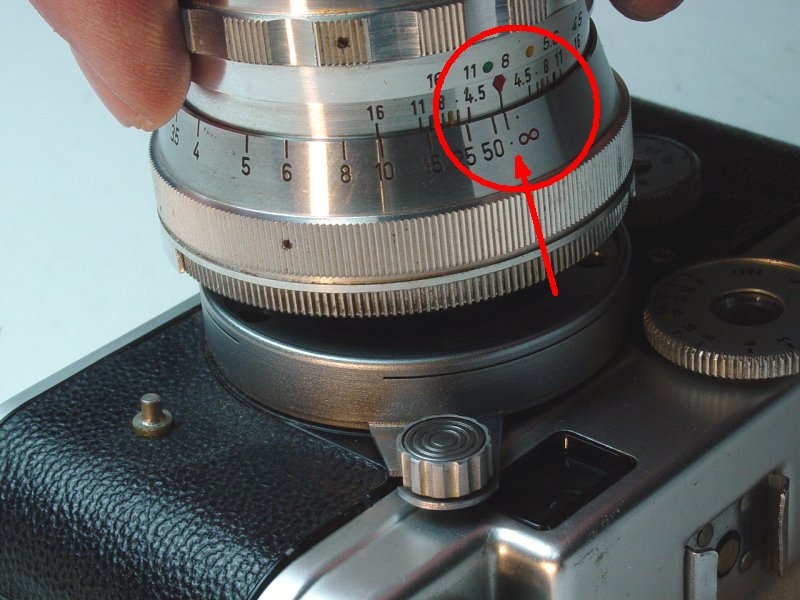
When installing the lenses, the lens must
first be set to infinity. The 35mm, 100mm and 135mm have index
marks and may be set as shown in the photo below...
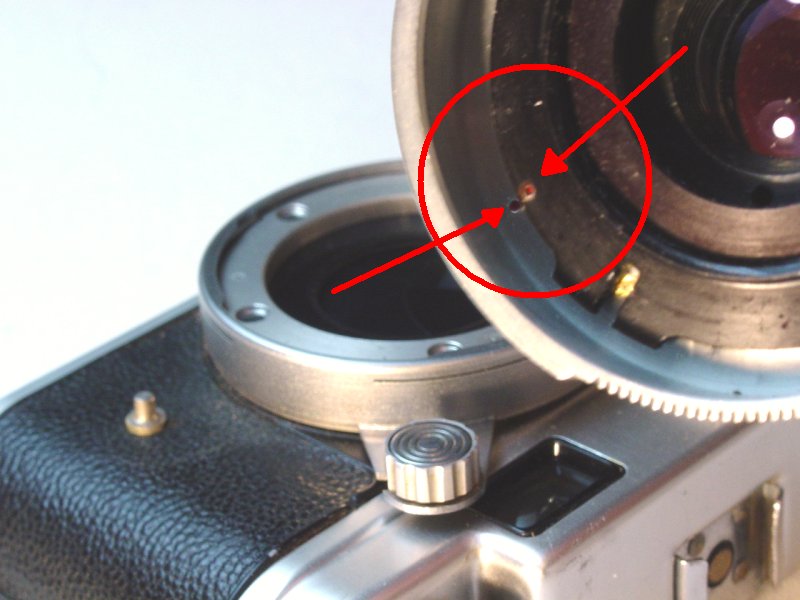
The 50mm lenses do not have index
marks and instead have an index mark inside the rear of the lens
housing. The two scribe dots must be lined up as shown...
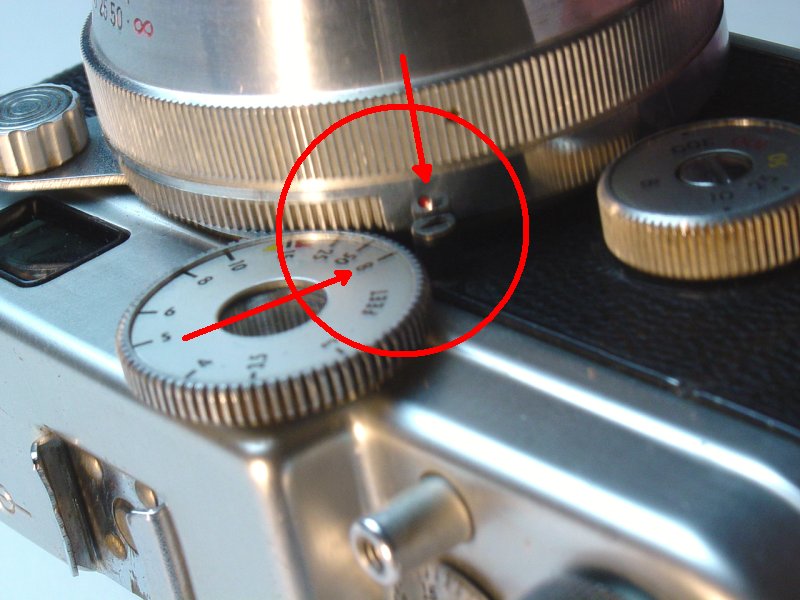
All lenses have an index dot on the
flange that must line up to the infinity index pin when installing the
lens onto the camera. In addition to setting the lens to infinity
as described above, this flange index mark must be aligned to the camera
rangefinder index pin and the rangefinder set to infinity...
If you get it right, the locking lever
will smoothly move clockwise under light pressure to return to the
locked position - turn the little knob to secure it on the pin.
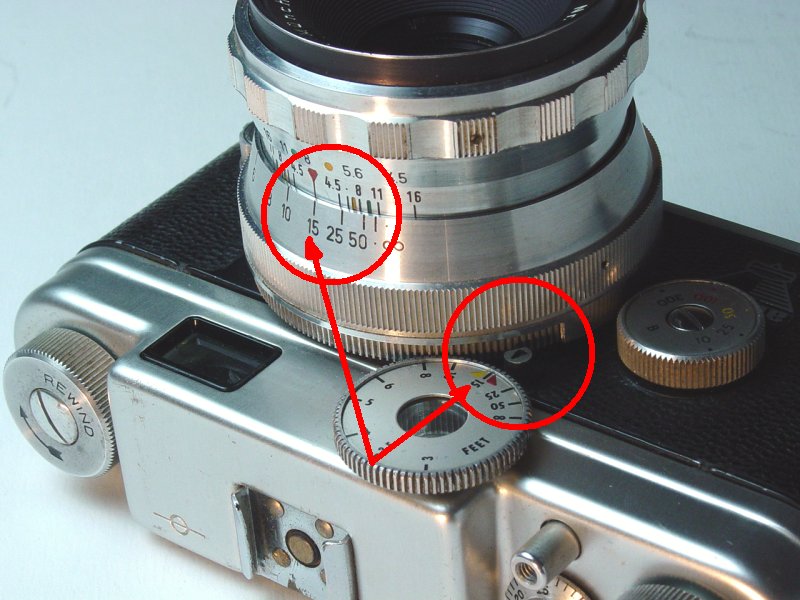
Any rangefinder setting should match the index on the lens (35mm, 100mm,
and 135mm only) - in this example, we see the 35mm set to 15 feet and
all is well...
|
Gratuitous shots of the assembly of
gear...
|
          
|
Lenses
|
|
|

Online Manual |
| Return to
Index |


Since
11/22/09